Computer Vision Introduction
Computer vision is automation of tasks that mimic human response to visual information. Computers gain high-level understanding and take actions from digital images or videos.


Packages for image manipulation and computer vision include:
OpenCV is the most capable computer vision package and is supported in many development environments.
OpenCV
OpenCV (Open Source Computer Vision Library) is a package for real-time computer vision and developed with support from Intel Research. It is a library of functions for real-time computer vision with an interface to C++, C, Java, and Python.

The base package is written in C/C++ and can run with OpenCL. OpenCL (Open Computing Language) allows code to run on central processing units (CPUs), graphics processing units (GPUs), digital signal processors (DSPs), and field-programmable gate arrays (FPGAs).
There are many tutorials to get started with OpenCV. A few of the basic functions are to read an image, display it on the screen, write and image, or to record frames from a video source such as a webcam.
Read Images from a File
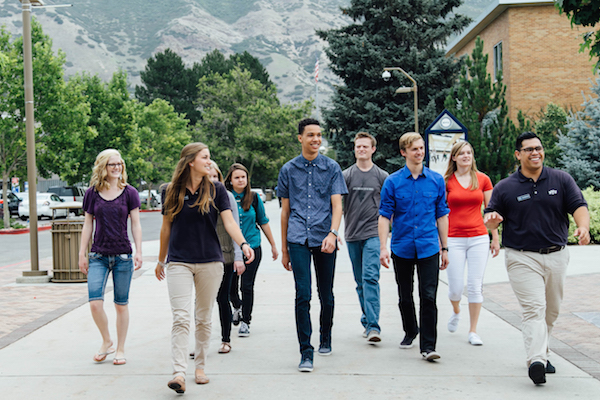
The photo of students walking is a 600x400 pixel image. First, download the image with this code or by manually saving the image to the run folder.
# download image
url = 'http://apmonitor.com/pds/uploads/Main/students_walking.jpg'
urllib.request.urlretrieve(url, 'students_walking.jpg')
OpenCV imports images (BMP, JPG, JPEG, PNG, WEBP, TIFF, and others) with the imread function.
im = cv.imread('students_walking.jpg')
The returned object im is a 400x600x3 Numpy array of integers that represent RGB (Red, Green, Blue) values but in Blue, Green, Red order.
  [[[211 209 201]
    [214 212 202]
    [210 209 199]
    ...
    [ 24  29  14]
    [ 30  42  22]
    [ 17  23  12]]
Resize Image
The size of an image is available with the shape property to return the height (h), width (w), and color (c).
An image can be resized by either specifying the new image dimension. The original photo of the students is 600x400 and the image is reduced to 300x200:
The image can also be resized by specifying a scaling factor (0.5) for the x and y dimensions. Use None for the image dimension to use the scaling factors.
With a target image size for one dimension, calculate the other dimension. In this case, the width is specified as 300px and the new image height is calculated from the width scaling factor.
h,w,c = im.shape # get image size
scale = width/w # scaling factor
height = int(h * scale)
dim = (width, height)
im3 = cv.resize(im,dim)
View Images on a Display
An easy way to show an image is with matplotlib.
im2 = plt.imread('students_walking.jpg')
plt.imshow(im2)
If the image is from OpenCV then use the conversion from to RGB (Red,Green,Blue) instead of BGR (Blue,Green,Red) for the color. Use [2,1,0] to rearrange the order from OpenCV. If the image is read with plt.imread() then the order does not need to be switched.
OpenCV also displays images to the screen but with a different imshow function. This creates a new window with name image that closes after a key press. If working in Jupyter notebook, this can cause the cell to hang up and require a kernel restart.
cv.imshow(name,im)
cv.namedWindow(name, cv.WINDOW_AUTOSIZE)
cv.waitKey(0) # waits for key press
cv.destroyAllWindows()
Matplotlib and Pillow read and display images but in RGB order instead of BGR order from OpenCV.
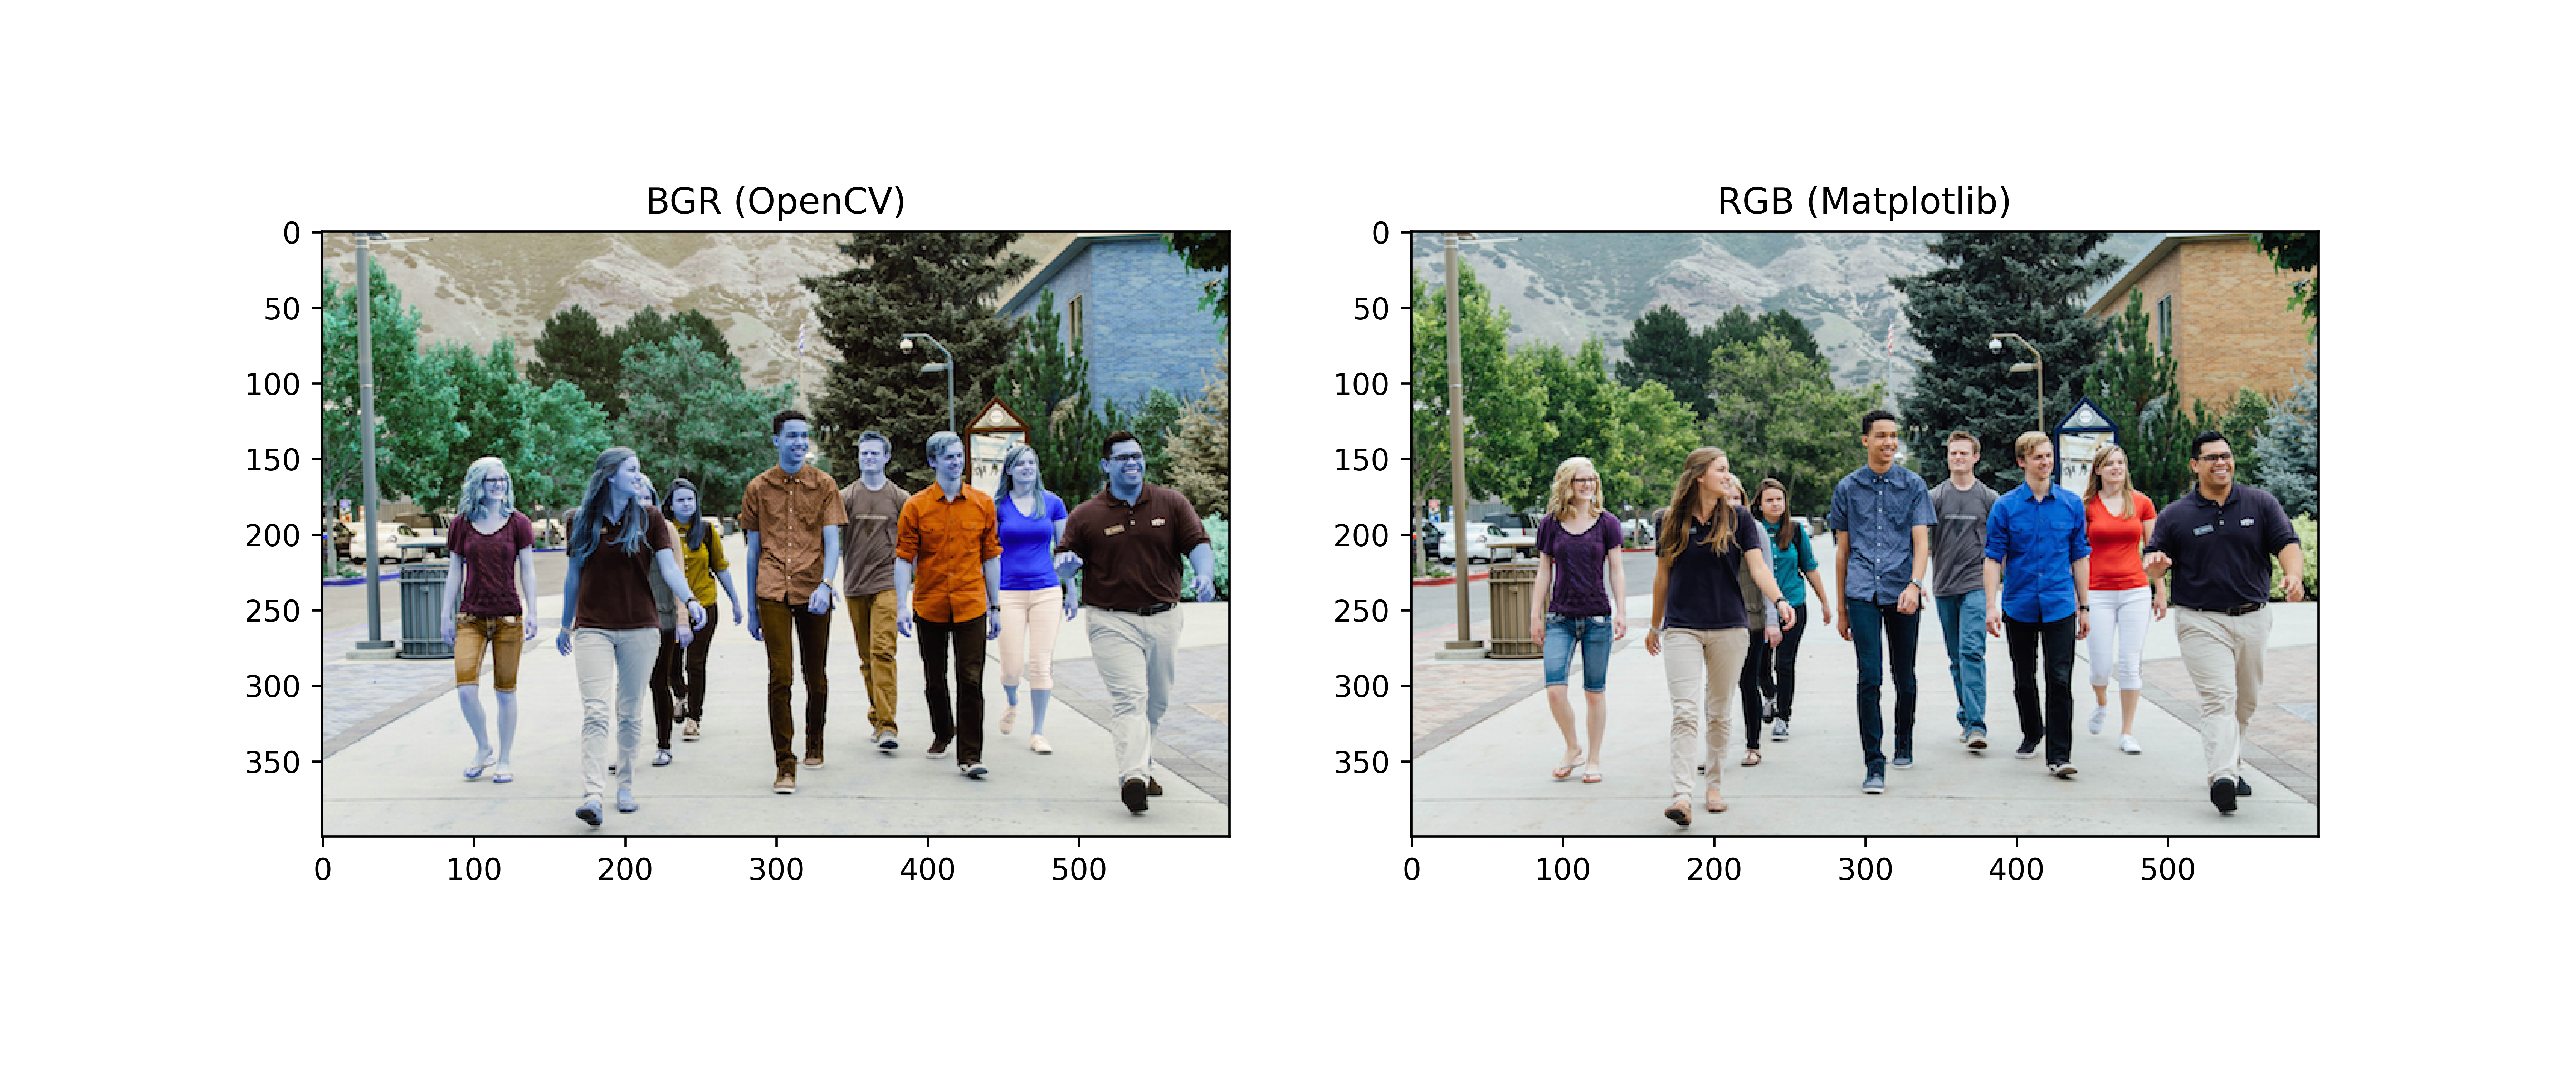
import matplotlib.pyplot as plt
im = cv.imread('students_walking.jpg')
im2 = plt.imread('students_walking.jpg')
plt.subplot(1,2,1)
plt.imshow(im)
plt.title('BGR (OpenCV)')
plt.subplot(1,2,2)
plt.imshow(im2)
plt.title('RGB (Matplotlib)')
An image is converted from BGR to RGB with cv.cvtColor(im, cv.COLOR_BGR2RGB) or from RBG to BGR with cv.cvtColor(im, cv.COLOR_RGB2BGR). Another way to convert back and forth is with array operations im[:,:,[2, 1, 0]] to switch the first and last numbers of the third dimension.
Write Images to a File
The imwrite function saves the image to a file with the format specified by the filename extension (BMP, JPG, JPEG, PNG, WEBP, TIFF, and others). With 'cv.imwrite('students.png',im)'', the image is saved in PNG format.
Capture and Write Video
Video capture from a camera is with the VideoCapture function. A new window View is opened to show each frame. The object out is a VideoWriter to save each frame to an avi file for 5 seconds.

import time
# Get camera Object
camera = cv.VideoCapture(0)
w = int(camera.get(cv.CAP_PROP_FRAME_WIDTH))
h = int(camera.get(cv.CAP_PROP_FRAME_HEIGHT))
# Write video.avi
out = cv.VideoWriter('video.avi', \
cv.VideoWriter_fourcc(*'XVID'), \
25, (w,h))
# Create Window to video frames
WindowName = 'View'
cv.namedWindow(WindowName, cv.WINDOW_AUTOSIZE)
# Save and view 5 second video
start = time.time()
while time.time()-start<=5.0:
ret0, frame = camera.read()
cv.imshow(WindowName, frame)
out.write(frame)
if cv.waitKey(1) & 0xFF == ord('q'):
break
cv.imwrite('frame.jpg', frame)
# Release camera and video file
camera.release(); out.release()
cv.destroyAllWindows()
The last frame of the video is captured as frame and saved as frame.jpg.

Application
Modify the video capture script to view the difference between successive frames. Convert the frame to int16 type before taking the difference and then covert it back to uint8 (0-255) before displaying the image.
diff_frame = abs(frame - prev_frame).astype(np.uint8)
import time
import numpy as np
# Get camera Object
camera = cv.VideoCapture(0)
w = int(camera.get(cv.CAP_PROP_FRAME_WIDTH))
h = int(camera.get(cv.CAP_PROP_FRAME_HEIGHT))
# Create Window to video frames
WindowName = 'Changes'
cv.namedWindow(WindowName, cv.WINDOW_AUTOSIZE)
prev_frame = None
while True:
ret0, frame = camera.read()
frame = frame.astype(np.int16)
if prev_frame is not None:
diff_frame = abs(frame - prev_frame).astype(np.uint8)
cv.imshow(WindowName, diff_frame)
if cv.waitKey(1) & 0xFF == ord('q'):
break
prev_frame = frame
# Release camera and video file
camera.release()
cv.destroyAllWindows()
✅ Knowledge Check
1. What is the correct order of colors when an image is imported using OpenCV?
- Incorrect. OpenCV imports images in BGR (Blue, Green, Red) order, not RGB.
- Incorrect. OpenCV does not import images in RGBA format by default.
- Correct. OpenCV imports images in BGR (Blue, Green, Red) order.
- Incorrect. There isn't a GRB format for importing images in OpenCV.
2. What method is used in OpenCV to save an image to a file?
- Incorrect. There is no method named cv.storeImage() in OpenCV for saving images.
- Incorrect. The method to save images in OpenCV is not cv.writeFile().
- Incorrect. OpenCV does not have a method named cv.saveImage() for saving images.
- Correct. cv.imwrite() is the method used in OpenCV to save an image to a file.
Additional Resources
OpenCV Tutorials
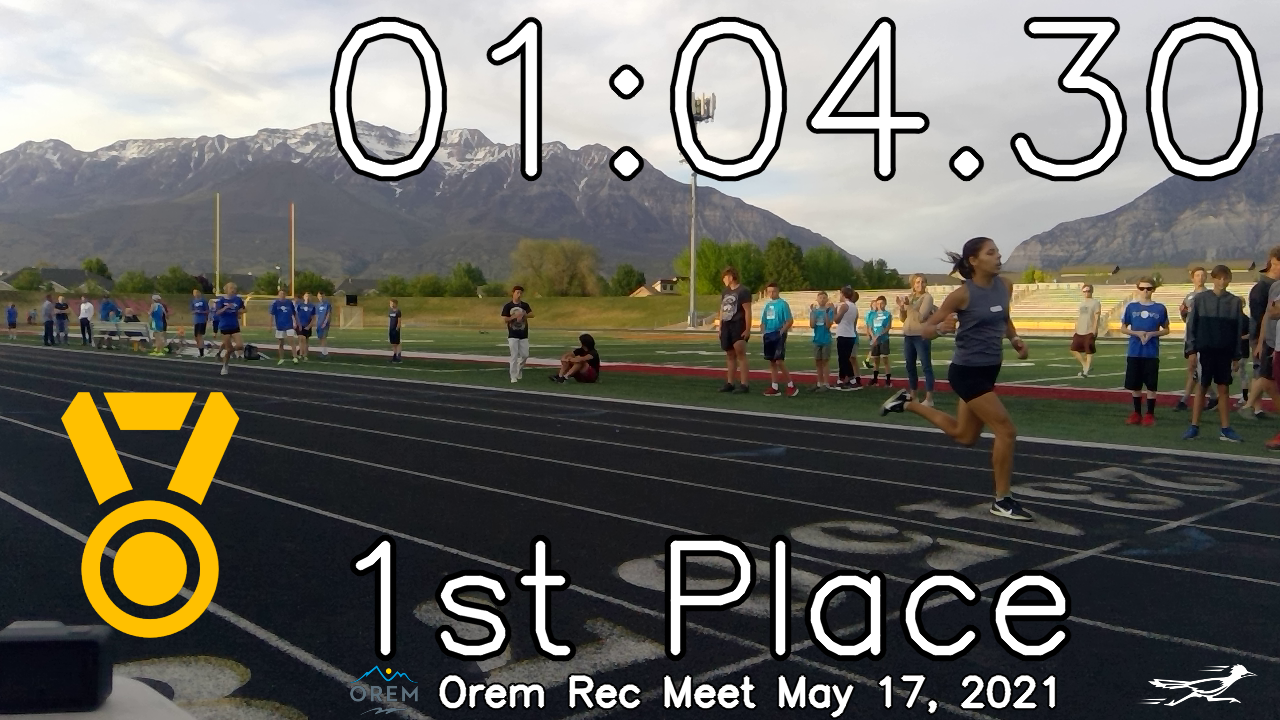
Race Timer with OpenCV
OpenCV produces photo finishes and race results for running events. See the Race Timer GitHub archive.