Servo Control
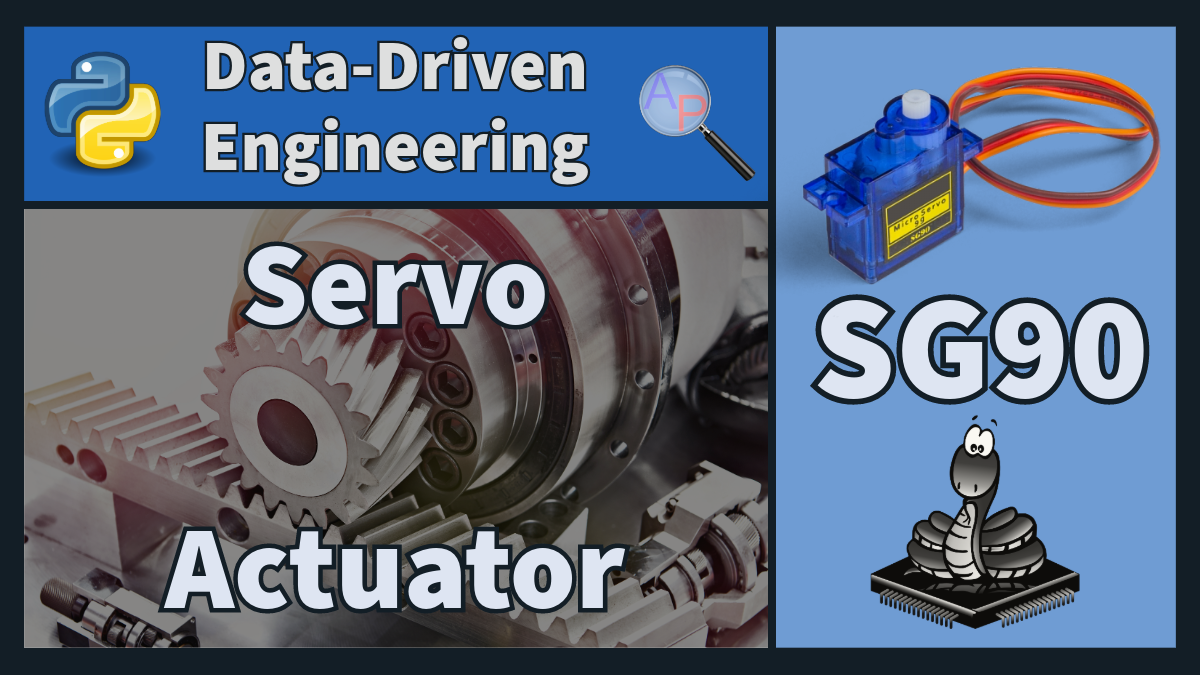
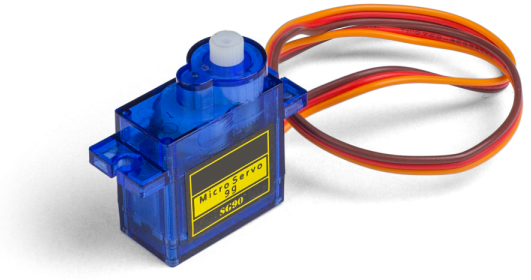
SG90 Servo Motor
The SG90 servo is a small, affordable servo motor commonly used in robotics, DIY projects, and educational applications. It is lightweight and low-cost with plastic gears for applications where minimal torque is required. There are also servos such as the MG90S that is more durable with metal gears for enhanced strength and durability.
The SG90 servo is controlled by sending a PWM (Pulse Width Modulation) signal, where the duty cycle of the pulse determines the angle of the servo arm. The SG90 can be rotated from 0° to 180° while the SG90-HV has the ability to continuously rotate.
The following Micropython code demonstrates how to control an SG90 servo using an ESP32 microcontroller. The code includes functions to set the servo to 0°, 45°, 90°, and 180° angles. The SG90 servo 0° is around a 2.5% duty cycle and 180° is around a 12.5% duty cycle, corresponding to duty values of about 26 and 128 for the ESP32 (range 0-1023).
import time
# Function to convert angle to PWM duty
def angle_to_duty(angle):
min_duty = 26
max_duty = 128
return int(min_duty + (angle / 180.0) * (max_duty - min_duty))
# Setup PWM and servo
pwm_pin = Pin(22) # Change with pin configuration
servo = PWM(pwm_pin, freq=50)
# Function to set servo to a specific angle
def set_servo_angle(angle):
duty = angle_to_duty(angle)
servo.duty(duty)
# Test with different angles
for angle in [0, 45, 90, 180]:
print(f'Angle {angle}')
set_servo_angle(angle)
time.sleep(1)

✅ Activity: Servo-Powered Percussion Instrument
Objective: Use an SG90 servo to create a rhythmic tapping motion to play a simple percussion rhythm.
Materials
- SG90 servo motor
- Microcontroller (such as an ESP32 or Arduino)
- A stiff piece of plastic or a lightweight rod
- An object to be tapped (like a small drum, a box, or a hard surface)
Setup
- Attach the stiff piece of plastic or rod to the servo arm securely. This acts as the tapping arm.
- Position the servo so that the arm can move freely and tap the chosen object with each movement.
- Connect the servo to your microcontroller using the appropriate pins for power, ground, and signal.
Micropython Code
Modify the original code to create a back-and-forth movement, simulating the ticking of a metronome or drum beat.
import time
# Function to convert angle to PWM duty
def angle_to_duty(angle):
min_duty = 26 # Modify as needed for precise movement
max_duty = 128
return int(min_duty + (angle / 180.0) * (max_duty - min_duty))
# Setup PWM and servo
pwm_pin = Pin(22) # Change as per your configuration
servo = PWM(pwm_pin, freq=50)
# Function to set servo to a specific angle
def set_servo_angle(angle):
duty = angle_to_duty(angle)
servo.duty(duty)
# Metronome function
def start_beat(bpm):
interval = 60 / bpm # Interval in seconds
while True:
set_servo_angle(0)
time.sleep(interval / 2)
set_servo_angle(90) # Adjust angle for best tapping motion
time.sleep(interval / 2)
# Start the beat
bpm = 60 # Beats per minute
start_beat(bpm)
In this code, the start_beat function sets the servo to move back and forth at a rate determined by the BPM (beats per minute). Adjust the BPM to change the speed of the rhythm.
Testing and Experimentation
- Test the setup with different BPM values to see how the rhythm changes.
- Experiment with different materials for the tapping arm and different surfaces or objects to be tapped to produce varying sounds.
- You might need to adjust the angles in the start_beat function for the best tapping motion.

This activity is a way to explore robotics, programming, and music simultaneously.