Install Python Packages
Python is a high-level and general-purpose programming language with data science and machine learning packages. This is a tutorial on how to manage Python packages, create virtual environments, and install specific package versions.
Use the instructions to install Python for Windows, MacOS, or Linux as a first step. If there are multiple Python versions, find the correct location in Windows or Linux/MacOS.
Windows
where python3
C:\Users\usr\AppData\Local\Microsoft\WindowsApps\python.exe
Linux or MacOS
which python3
/usr/bin/python3
pyenv makes the process of downloading and installing multiple Python versions easier, using the command pyenv install. If you have multiple versions of Python or have specific dependencies, then use an environment manager such as venv or conda.
Manage Python Environments
An environment in Python is a separate directory location where specific packages are installed with specific version requirements for those packages. This is useful if you want to work on multiple projects that have different package requirements, or if you want to isolate your package installations from the global Python environment. There are several ways to create an environment in Python with venv, virtualenv, and conda.
venv (Python 3.3+) or virtualenv (older Python versions)
The venv module is included as a Python standard library and creates lightweight virtual environments. A Python package virtualenv also creates isolated Python environments. The standard venv makes virtualenv package obsolete, but it can still be used to create virtual environments for older versions of Python before 3.3. To create an environment using venv (preferred), open a terminal and navigate to the directory to create the environment. Run the following command to create the environment.
Replace envname with the desired name for your environment. This will create a new directory with the specified name and set up a basic Python environment inside it. To activate the environment, run the following command.
Windows
Linux or MacOS
This modifies the shell prompt to indicate that is is working inside the environment. To deactivate the environment, run the following command.
conda
Package manager conda is an environment management system for Python, R, and other languages. It is included in the Anaconda distribution of Python. To create an environment using conda, open a terminal and run the following command to create the environment.
Replace envname with the desired name for the environment. This creates a new environment with the specified name. To activate the environment, run the following command.
This modifies the shell prompt to indicate that it is now working inside the environment. To deactivate the environment, run the following command.
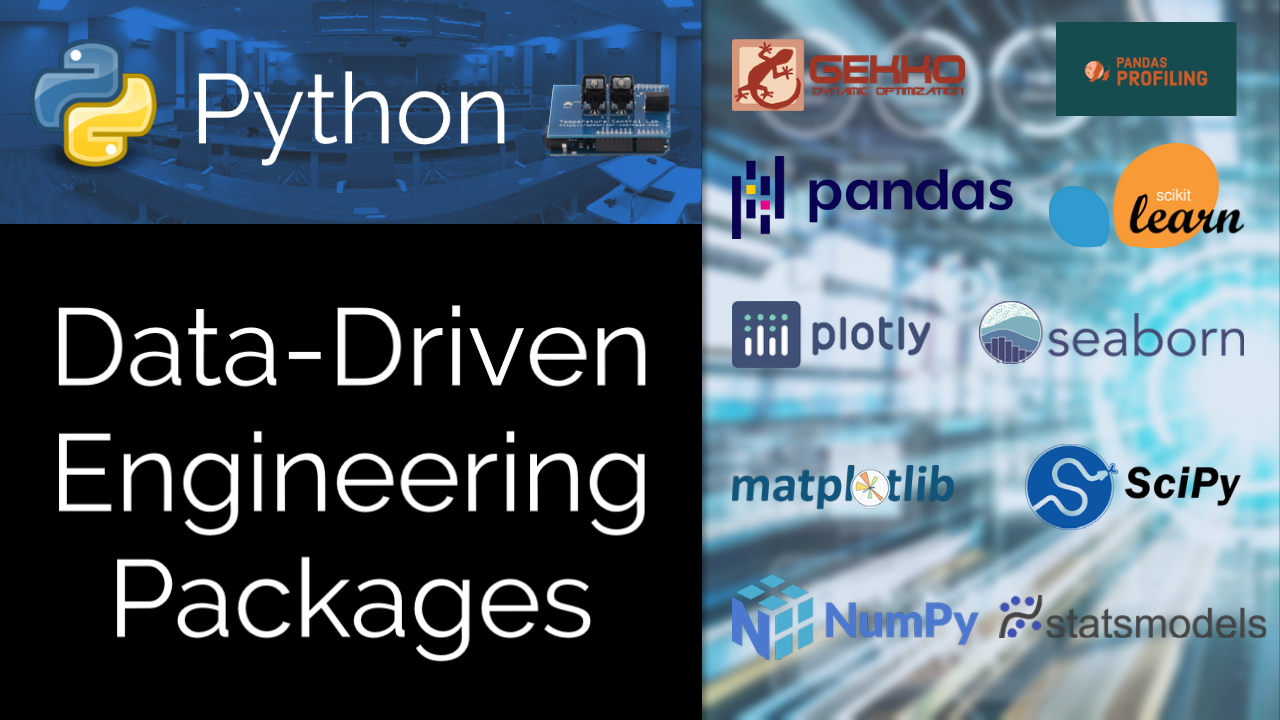
Install Python Packages
Python packages are available either through the pip or conda package managers. This page is an overview of some of the best packages for data-driven engineering and how to install them. You may need to install the packages from the terminal, Anaconda prompt, command prompt, or from the Jupyter Notebook. The Python package manager pip has all of the packages (such as gekko) that are needed for this course. If there is an administrative access error, install to the local profile with the --user flag.
Install from Terminal
To install Python packages, you need to use a tool called pip. The utility pip is a package manager for Python that allows you to install and manage packages that are available on the Python Package Index (PyPI). The pip utility comes with a Python installation. If it is not available, ensure that the pip directory is in the Windows PATH as shown in the video. Open a terminal or command prompt window and type the following command:
This installs (and upgrades) pip if it is not already installed on your system. Once pip is installed, you can use it to install a package by running the following command:
Using the python3 -m at the beginning helps if there are multiple versions of Python. You can also use pip3 instead of pip to indicate that installation is for a Python3 distribution. Replace <package-name> with the name of the package that you want to install. For example, to install the gekko package, you would run the following command:
This downloads and installs the gekko package, along with any other packages that it depends on. If you want to install a specific version of a package, you can specify the version number using the == operator. For example, to install version 1.0.5 of the gekko package, you would run the following command:
You can also use pip to upgrade an already-installed package to the latest version by running the following command:
For example, to upgrade the numpy package to the latest version, you would run the following command:
Install in Jupyter Notebook
Install Python packages in a Jupyter Notebook cell with pip. It is not necessary to use the python3 -m because the Jupyter Notebook kernel is already running the correct version of Python and will add the package to that distribution.
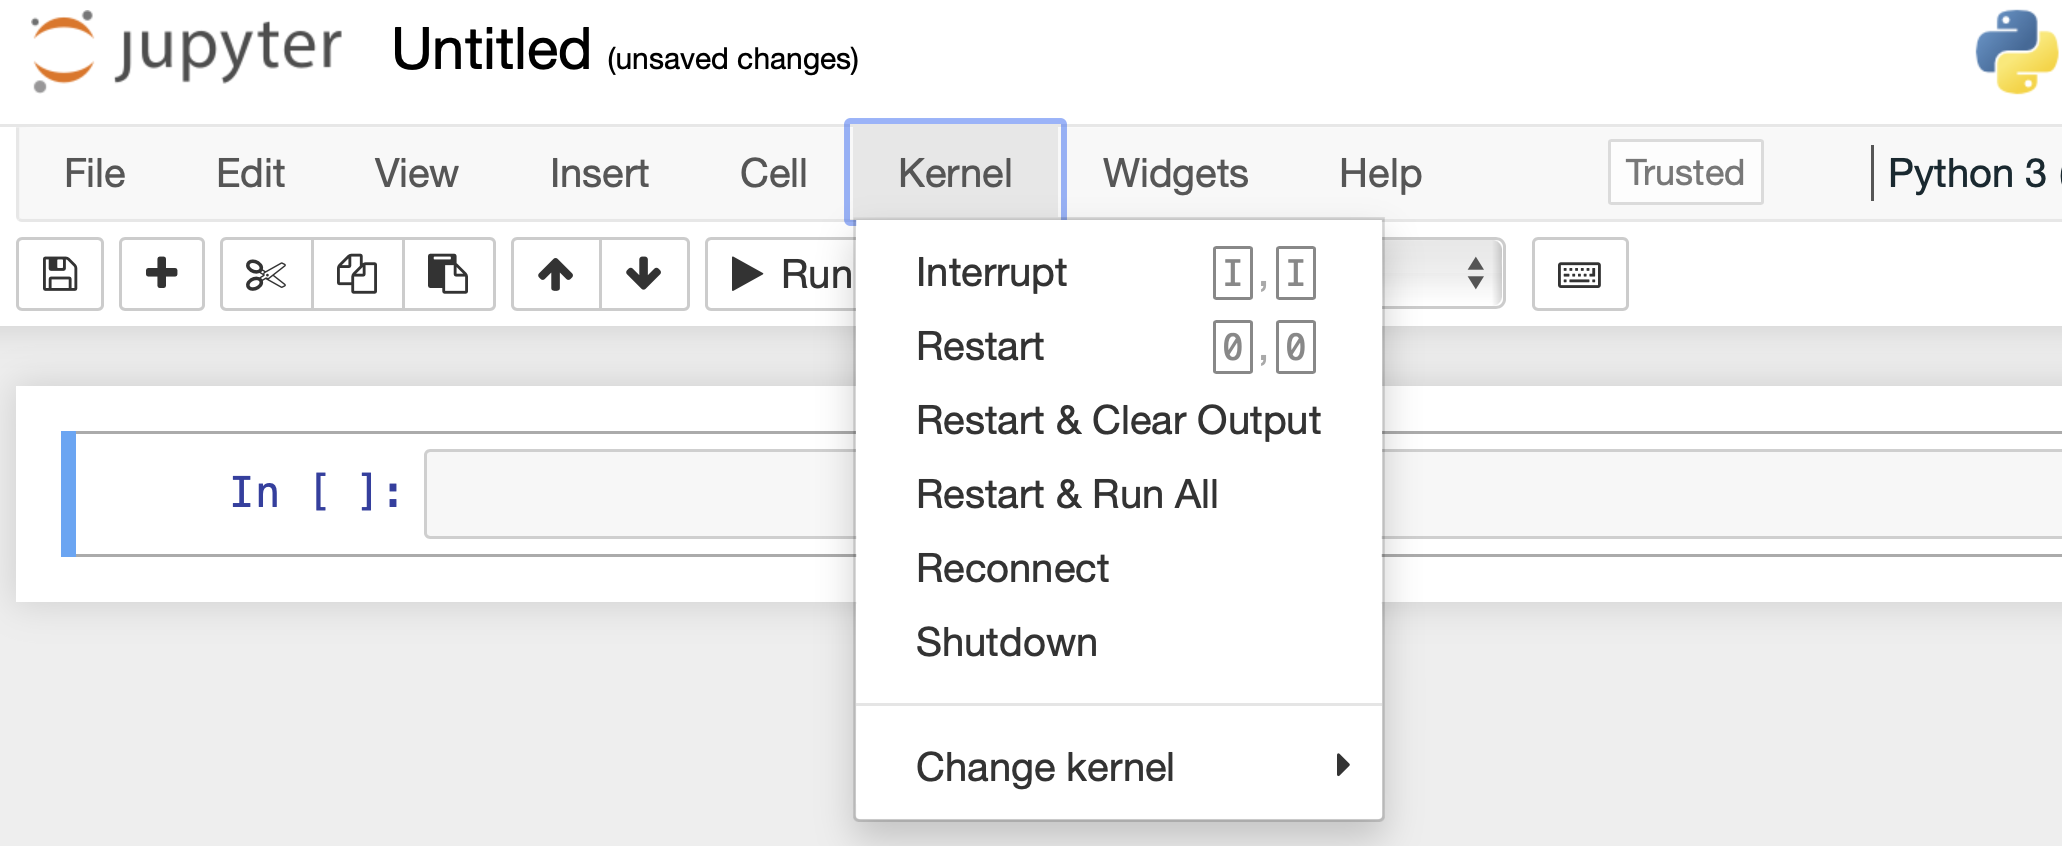
Once the package is installed, it is often required to restart the kernel so that the new package is available for import. The kernel can be restarted from the menu or with a shortcut by typing two zeros 00. Restart of the kernel is not needed when using Google Colab.
Packages can be installed from a Python script although this is not recommended.
pipmain(['install','gekko'])
List Package Version Numbers
Many of the modules come pre-packaged with distributions such as Anaconda. List the current packages and version numbers.
   Package                            Version
   ---------------------------------- -------------------
   anaconda-client                    1.7.2
   anaconda-navigator                 1.10.0
   anaconda-project                   0.8.3
   beautifulsoup4                     4.9.3
   conda                              4.9.2
   gekko                              1.0.4
Additional packages for visualization, data science, and machine learning are listed below.
Beautiful Soup

Beautiful Soup is a Python package for extracting (scraping) information from web pages. It uses an HTML or XML parser (lxml) and functions for iterating, searching, and modifying the parse tree.
Gekko

Gekko provides an interface to gradient-based solvers for machine learning and optimization of mixed-integer, differential algebraic equations, and time series models. Gekko provides exact first and second derivatives through automatic differentiation and discretization with simultaneous or sequential methods.
Matplotlib

The package matplotlib generates plots in Python.
Numpy

Numpy is a numerical computing package for mathematics, science, and engineering. Many data science packages use Numpy as a dependency.
OpenCV

OpenCV (Open Source Computer Vision Library) is a package for real-time computer vision and developed with support from Intel Research.
Pandas

Pandas visualizes and manipulates data tables. There are many functions that allow efficient manipulation for the preliminary steps of data analysis problems.
Plotly
Plotly renders interactive plots with HTML and JavaScript. Plotly Express is included with Plotly.
Scikit-Learn

Scikit-Learn (or sklearn) includes a wide variety of classification, regression and clustering algorithms including neural network, support vector machine, random forest, gradient boosting, k-means clustering, and other supervised or unsupervised learning methods.
SciPy

SciPy is a general-purpose package for mathematics, science, and engineering and extends the base capabilities of NumPy.
Seaborn

Seaborn is built on matplotlib, and produces detailed plots in few lines of code.
Statsmodels

Statsmodels is a package for exploring data, estimating statistical models, and performing statistical tests. It include descriptive statistics, statistical tests, plotting functions, and result statistics.
Temperature Control Lab

The Temperature Control Lab is used throughout the course for hands-on activities such as the Learn Python and Data Science modules. Data can also be generated from a digital twin simulator if a TCLab device is not connected. Use TCLabModel to generate simulated data wherever TCLab is used to connect Python to the physical lab.
Install with requirements.txt
One way to install all packages (and correct versions) is with a requirements.txt file in the project directory. This file contains a list of the package names and versions to install, with one package per line.
requirements.txt with specific version numbers
numpy==1.24.1
To install these packages, open a terminal and navigate to the directory containing the requirements.txt file. Run the following command to install the packages listed in the requirements.txt file:
This installs the specified packages and dependencies in a Python environment. The location of the requirements.txt file can be specified if it is not in the current directory by providing the full path to the file.
Use the requirements.txt file with no version numbers to install the latest stable version of each package.
requirements.txt
lxml
gekko
matplotlib
numpy
opencv-python
pandas
plotly
scikit-learn
scipy
seaborn
statsmodels
tclab